Did you ever read Little House in the Big Woods?
There’s a scene that stuck in my memory for nearly 20 years – one of those that makes you want to snuggle up to the fire and eat something rustic – like bear meat stew or johnny cakes. Maybe just the johnny cakes.
After working hard all year, winter comes to the little house, and the Ingalls family is surrounded by their food for the winter. Braided onions hang from the rafters, pumpkins and squash sit in piles on the loft floor, while homemade cheeses line the shelves.
Nearly 150 years later, the modern family’s winter looks very different. It looks more like a freezer crammed with frostbitten bags of vegetables that try to break your toe every time you open it. For many of us, our preserving skills are a work in progress.
Buying in bulk is the modern day equivalent to harvesting the garden and preparing for winter. It saves my family a ton of money for a very small time-cost.
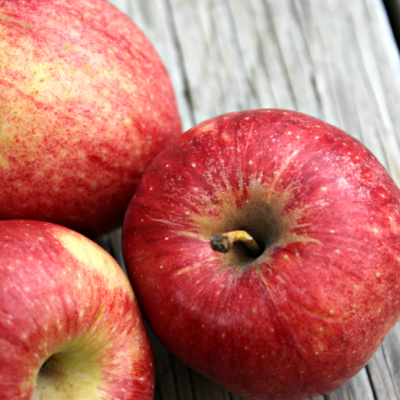
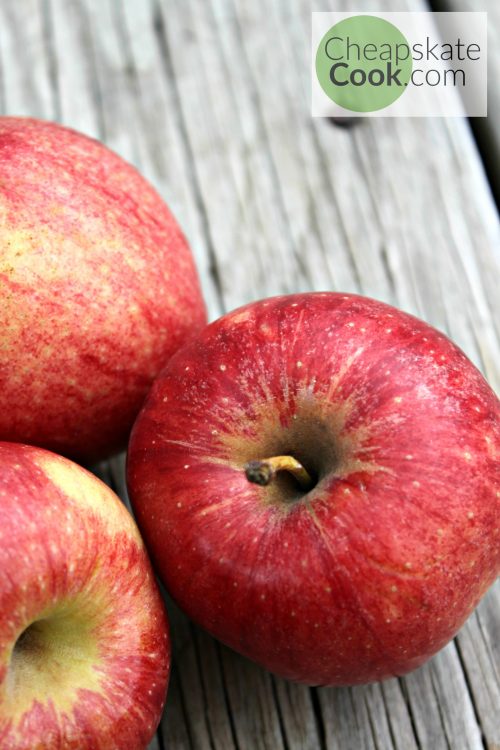
Last week on Instagram, when I mentioned that I buy bushels of apples and store them for 3-5 months, some of you asked me to share how I do it.
In order to make this process cost and time efficient, I try to complete the whole project in less than an hour. Since it saved us nearly $200 last winter, that’s a profitable return on my time.
So here’s what happens when 5 bushels of apples come to my door.
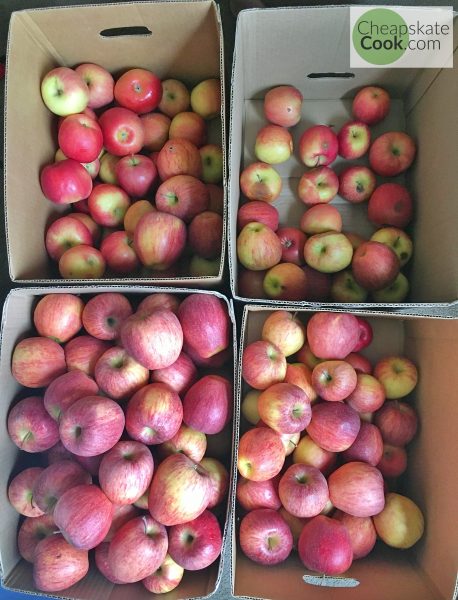
1. Sort
You only want to store unblemished apples – no bruises, no broken skin.
Heres how I sort mine:
- Unblemished – perfect for long-term storage
- Almost unblemished – A few marks and such, but the skin isn’t broken.
- Slightly bruised and marked – the skin is broken in some places
- Gross – these sat at the bottom of the box and got crushed. Or the toddler found it, ate half of it, then put it back in the box. A week ago.
I only store the unblemished and almost unblemished. Naturally, we try to eat the box of Almosts first.
The rest of the apples stay in the kitchen – either in the fridge or in a box. The gross ones either get composted or carefully chopped into these one-bowl apple and oat bars.
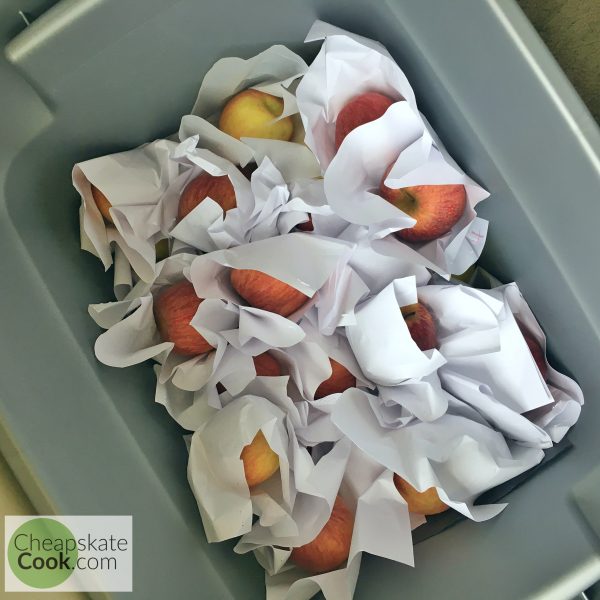
2. Wrap
Next, I loosely wrap each apple in a sheet of scrap paper (newspaper, magazine, tissue, whatever). The idea is to prevent any potential bad spots that develop from spreading to other apples around it.
I gently pack the apples in large, durable plastic bins. When the box is full, I put on the lid.
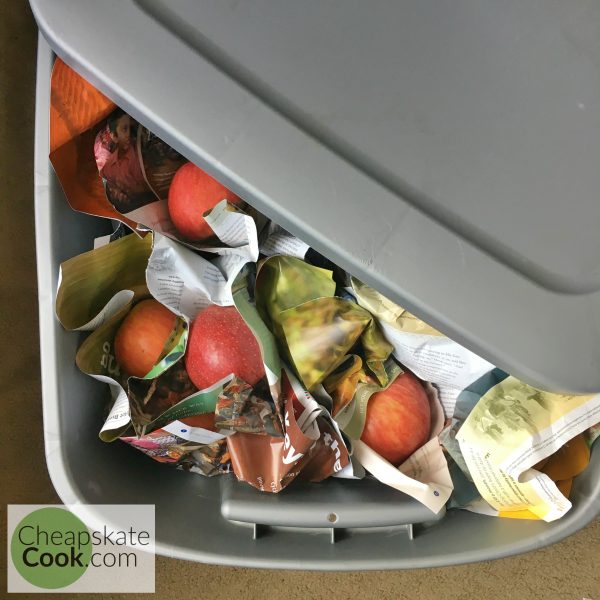
3. Store
The key to storing apples is to keep them at a consistent, fairly low – but not freezing – temperature. In the past, people used a root cellar. In the 21st century, I use my basement/crawl space. It’s an unfinished, 6-foot high space under the house where I can safely store items in plastic bins without fear of animals, extreme, temperature, or excess moisture.
You can use your own crawl space, or partial basement/garage. Basically, any indoor space that won’t get heated by your HVAC and won’t freeze.
That’s it! Whenever we run out of apples upstairs, I fill up a bag and bring it upstairs. Aside from the paper grocery bag, it feels fairly Little-House-ish.
What You Can Do Now:
Interested in buying in bulk or learning how to preserve?
- Do a quick internet search for local bulk-buying groups. Facebook groups are a great resource for bulk orders! Also check out Bulk Natural Foods, my local buying group.
- Do you buy anything in bulk? How has that helped you save money and eat well? Share your experience in the comments!
You might also be interested in more no-fuss preserving methods here!
Trackbacks/Pingbacks